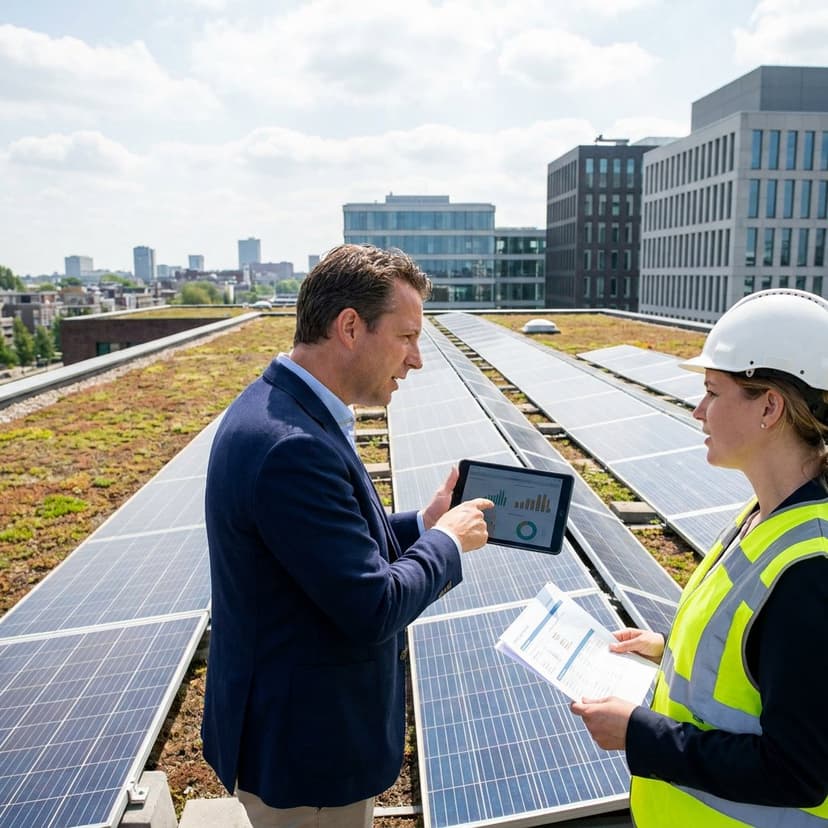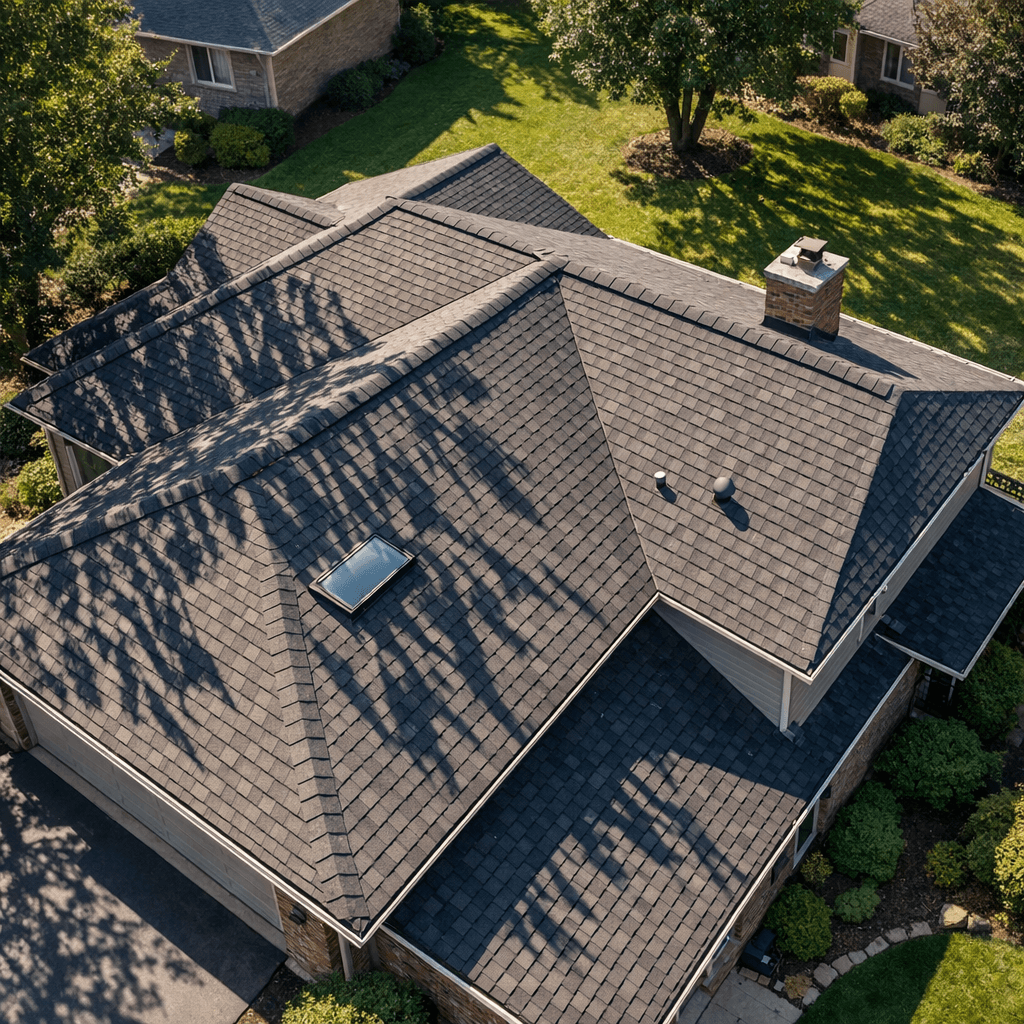
A solid solar site assessment is the difference between a smooth install and costly redesigns. This guide shows you how to evaluate a property quickly and precisely, what to measure, which solar site evaluation tools to use, and when a remote-first workflow beats rolling a truck. If you sell or design solar, use this as your playbook to scope, model and quote with confidence.
What a solar site assessment includes
A site assessment for solar PV validates three things: can you build it, will it perform, and does it permit. In practice that means assessing solar access and shading over the year, roof condition and structure, electrical service capacity and interconnection options, space for inverters and balance of system, and local permitting or zoning constraints. You combine field observations with software models to size the system, forecast production, estimate costs and timelines, and set customer expectations before you finalize a proposal. For clarity on how a site survey differs from a site assessment, see Solar site survey vs. site assessment.
Solar access and shading analysis
Performance starts with sun. Measure roof orientation and tilt, map nearby obstructions, and quantify annual shading. Use horizon profiles and month-by-month shade studies rather than a single snapshot. Prioritize array zones that keep minimum row-to-edge clearances and avoid micro-shade from vents, flues and skylights. For accuracy, combine satellite and LiDAR basemaps with on-site checks when in doubt. If obstructions are removable, note pruning, relocation or array reconfiguration options. Your goal is a bankable production model tied to real geometry, not rules of thumb.
Roof and structural suitability
Confirm the roof can support the array and will outlast the system. Note roofing type, age and condition, rafter spacing, sheathing, and any signs of sagging or water intrusion. Flag brittle or end-of-life surfaces for reroofing before installation. For ballasted or large arrays, account for dead load, live load and uplift. Document access paths, fire setbacks and anchor points. If the roof is not viable, evaluate carport or ground-mount alternatives and update costs and permitting considerations accordingly. For detailed guidance on structural reviews, see Roof structural checks before solar installation. If you need homeowner-friendly criteria, review How to know if your roof is strong enough for solar.
Step-by-step solar site survey workflow
Use a consistent flow so nothing is missed and your proposal maps 1-to-1 to field reality. For a concise process overview, see Solar site inspections 101 guide.
- Pre-qualify remotely – Pull parcel boundaries, roof geometry, azimuths and tilt from aerial imagery and LiDAR. Run a quick shading model to identify viable planes and a preliminary system size.
- Gather utility data – Collect 12 months of bills, rate plan and meter numbers. Note demand charges and time-of-use to inform system sizing and storage adders.
- Roof walkdown – Verify dimensions, measure rafter spacing, locate trusses, note penetrations and setback constraints. Capture high-resolution photos of every roof face you plan to use.
- Shading ground truth – Validate obstructions, tree heights and seasonal angles. Adjust the remote model if on-site findings differ.
- Electrical service – Identify service rating, busbar size, main breaker, feeder sizes and panel space. Determine interconnection method – supply-side tap, breaker backfeed, or subpanel – and note required upgrades.
- Equipment layout – Select inverter, combiner, ESS and disconnect locations with code clearances, ventilation and noise in mind. Confirm conduit routes, roof-to-ground transitions and penetrations.
- Safety and access – Confirm working clearances, fire pathways and fall protection anchors. Note lift or crane access, staging, and parking constraints.
- Permitting and AHJ rules – Record local fire setbacks, wind and snow loads, structural requirements, and any design templates used by the AHJ or utility.
- Customer expectations – Align on aesthetics, production goals, future loads like EVs or heat pumps, and outage backup needs.
- Deliverables – Update the 3D model, shade report, single-line diagram, and preliminary bill of materials so your proposal is accurate and permit-ready.
Tool stack: solar site evaluation tools that speed accuracy
A modern assessment blends remote sensing with on-site validation. Core tools include high-resolution aerial imagery, LiDAR-derived elevations for roof pitch and tree heights, 3D modeling for array layout and shade, and production modeling engines for monthly and annual yield. Mobile apps standardize photo capture and measurements. Drones help when roofs are unsafe or complex. AI can personalize education for prospects and pre-fill property characteristics remotely. For proposals, use 3D solar simulations inside RFPs and one-click quote generation so design learnings flow straight into pricing.
Remote vs on-site site assessment
Remote-first surveys cut truck rolls and accelerate sales, especially for early-stage scoping. With quality imagery, LiDAR and robust models, you can size, price and forecast production with high confidence. On-site visits still add value for borderline structures, complex electrical upgrades, or heavy shading. Many high-performing teams run a hybrid flow: remote pre-qualification and proposal, then a targeted on-site verification before permitting. The result is lower cost of sale and fewer redesigns.
Pre-survey data checklist
During preparation and homeowner intake, these prompts help you collect accurate information: Questions to ask homeowners during solar consultation.
- Property basics – Address, parcel ID, roof type and age, stories, HOA constraints.
- Energy profile – 12 months of kWh, demand peaks, rate schedule, planned new loads.
- Electrical details – Service amperage, main panel busbar and breaker sizes, subpanels, meter location.
- Site constraints – Access, setbacks, fire code rules, wind and snow loads, flood or historic overlays.
- Preferences – Aesthetic priorities, backup expectations, timeline, financing preferences.
FAQs
What is a solar site assessment?
It is a structured evaluation of a property to confirm technical feasibility, expected energy production and permitting path for a solar PV system. It covers solar access, roof structure, electrical interconnection, layout options and local code requirements. The outcome is a design-ready model, a realistic production estimate and a proposal that reflects true costs and timelines.
Do you still need an on-site visit if you use remote tools?
Often you can quote accurately from a remote model when imagery and LiDAR are strong. Plan an on-site verification for edge cases like aging roofs, major electrical upgrades, dense trees or unusual structures. Many teams adopt remote pre-qualification, then a focused in-person survey only when the project proceeds.
Is there really a 33% rule in solar?
There is no universal 33% rule in solar PV. People often confuse local utility policies with electrical code. A common U.S. guideline is the 120% busbar rule in NEC 705.12, plus continuous load sizing at 125%. Always verify interconnection limits and panel upgrades with your AHJ and utility, since rules vary by jurisdiction.
Next steps
If you want to scale this process, Enervio helps solar companies collect property characteristics remotely, educate prospects with AI, generate RFPs with 3D solar simulations and produce one-click quotes that match your field reality. Use a remote-first flow to speed sales and cut redesigns. For budgeting, review the cost of a solar site visit.