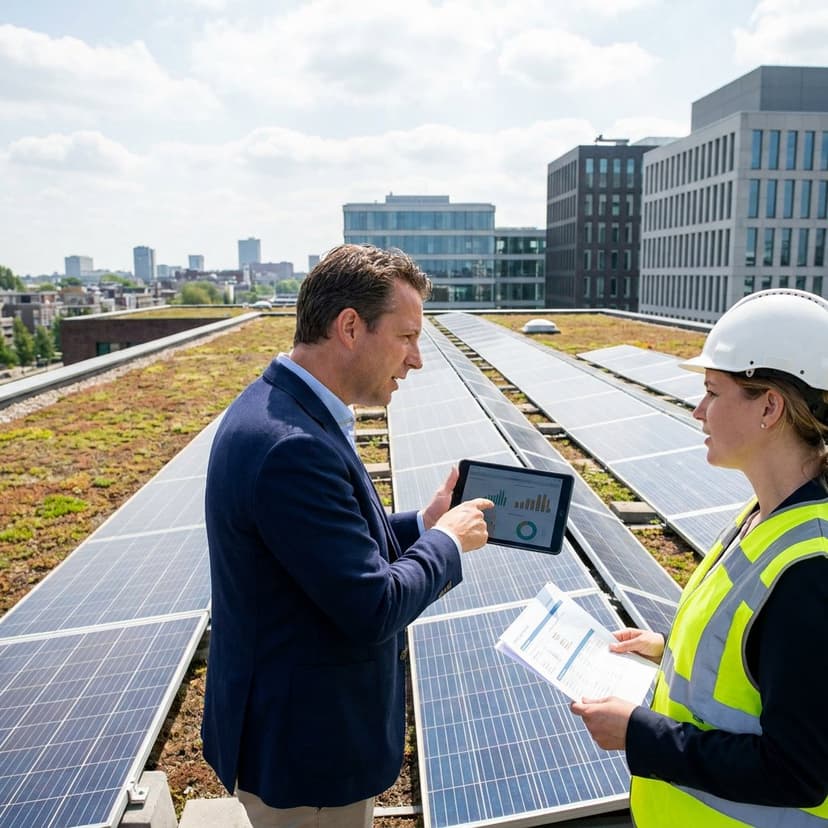
Choosing between a solar site survey and a site assessment can make or break project speed, cost, and performance. Below you will quickly learn what each term really means, how they fit into your workflow, how onsite and remote methods compare, and when to choose one over the other. You will also see what outputs to expect and how modern tools help you move from desktop pre-assessment to a permit-ready design.
What each term really means
Solar site survey
A solar site survey is the on-the-ground or remote data collection step focused on the physical and electrical conditions of a property. Think measurements, obstructions, roof tilt and azimuth, shading, structural cues, electrical panel ratings, interconnection constraints, and code or fire setbacks that affect array layout. The outcome is a validated set of site-specific inputs used by designers and engineers to size, place, and connect the PV system. Surveys can be performed onsite or remotely with high-quality imagery, LiDAR, or drone captures, and often include photo documentation and a measurement package. For a step-by-step walkthrough, see how to perform a solar site survey.
Solar site assessment
A solar site assessment is the broader feasibility analysis that uses survey data to determine if going solar makes sense and how to optimize it. It consolidates solar resource and shading analysis, consumption patterns, system sizing options, structural and electrical implications, code review, incentives and net-metering eligibility, budget and ROI modeling, and project risks. The deliverable is a recommendation with scope and assumptions, alternative designs if needed, estimated production, cost and savings forecasts, and next steps toward engineering and permitting. In short, a survey gathers facts, an assessment interprets those facts to guide decisions. For clarity on how inspections differ from surveys and assessments, see solar site inspections 101 guide.
Solar site survey vs site assessment – side by side
Use this comparison to align your team and set expectations with customers.
| Aspect | Site survey | Site assessment |
|---|---|---|
| Primary goal | Collect accurate site data | Decide feasibility and optimize the solution |
| Scope | Measurements, shading, structural cues, electrical panel and service | Energy modeling, code review, incentives, budget and ROI, risk analysis |
| Who performs | Surveyor, technician, drone pilot, or remote analyst | Designer, engineer, or analyst using survey data |
| Timing | Early – before final design and permitting | Early to mid – informs proposal and engineering scope |
| Methods | Onsite tools, LiDAR, aerial imagery, drones, mobile apps | Simulation software, rate modeling, incentives lookup, compliance checks |
| Outputs | Photos, sketches, measurements, panel ratings, shading metrics | System recommendation, production estimate, financials, risks, next steps |
| Accuracy risks | Obstruction changes, outdated imagery, inaccessible spaces | Assumptions about loads, rates, incentives, or future shading |
| Typical use | Input for layout and interconnection design | Customer decision making and project approval |
Onsite vs remote surveys – methods, accuracy, and trade-offs
Survey methods differ in speed, cost, and data richness. Here is how traditional onsite, LiDAR-based, and drone-based surveys compare. For budgeting, consider technician time, travel, and tooling.
Traditional onsite survey
The classic approach sends a technician to the property to measure roof planes, verify structure and roof condition, document obstructions, check attic access if applicable, and inspect the electrical service, main panel, bus rating, breaker space, and grounding. Hand tools, tilt/azimuth meters, and shading devices or mobile apps capture the necessary data. The advantages are high confidence in measurements, direct observation of roof condition, and immediate clarification with the homeowner. Limitations are scheduling friction, travel time, safety constraints, weather delays, and higher cost per job. On complex roofs or older homes with unknown electrical conditions, onsite remains the most reliable way to avoid redesigns and change orders. To reduce on-site friction and no-shows, share this site survey checklist.
LiDAR-based remote survey
Light Detection and Ranging provides 3D elevation data that, combined with up-to-date aerial imagery, yields accurate roof geometry, tilt, azimuth, edge distances, and even tree heights in many regions. Remote analysts or software convert the point cloud into roof planes and obstruction outlines, creating a measurement set suitable for preliminary layout and production modeling. Benefits include speed, scalability, no site visits, improved safety, and lower cost per lead. Limitations include variable data coverage by region, possible latency between capture and present-day conditions, and reduced visibility into roof health or hidden structural issues. When paired with rate and load analytics, LiDAR enables same-day proposals with bankable assumptions. For final engineering, teams often supplement LiDAR with targeted onsite checks of the electrical service, attic or truss details, or roof condition to de-risk permits and installation. In short, LiDAR can eliminate most early friction while still leaving room for a light-touch field verification where required by authorities or internal QA.
Drone-based remote or hybrid survey
Drones capture high-resolution imagery and, with photogrammetry or LiDAR payloads, generate precise 3D models of the roof and surroundings. A typical capture can take minutes on site and provides current visuals that reveal obstructions, vent locations, chimney offsets, and vegetation clearances better than many satellite sources. Advantages include speed, excellent imagery for design and sales visualization, and the ability to cover difficult or unsafe roofs without climbing. Limitations include pilot requirements, airspace rules, weather constraints, and the need for property access. Many teams use drones as a hybrid step – quick field visit, no ladders – to close accuracy gaps left by pure desktop surveys, especially for complex rooflines or heavy tree cover.
What a thorough assessment includes
- Solar potential and shading analysis – hourly sun paths, seasonal shadows, and predicted production losses.
- Roof and structure review – material, age cues, visible integrity, and loads for racking and modules. See roof structural checks before solar installation.
- Electrical system evaluation – service size, main panel bus rating and space, meter location, interconnection options.
- Available space and code setbacks – fire pathways, edge distances, obstructions, and safe working clearances.
- Usage and rate modeling – historic consumption, time-of-use or tiered rates, and net-metering eligibility.
- Financials and incentives – equipment costs, rebates, tax credits, and payback or IRR scenarios.
Workflow – from desktop pre-assessment to final design
- Pre-qualify remotely – review imagery, LiDAR layers, zoning, and basic electrical info to screen out non-starters, and prepare questions to ask homeowners during solar consultation.
- Collect measurements – remote or onsite survey covering roof planes, obstructions, and shading metrics.
- Verify electrical – capture panel photos, labels, bus ratings, and potential upgrade needs.
- Model production and layout – translate survey data into array options, stringing or MLPE choices, and conduit paths.
- Assess code and setbacks – confirm fire pathways, structural anchors, and interconnection method per local rules. Review AHJ requirements for site inspections.
- Build the proposal – production, savings, incentives, and options for batteries or EV charging.
- Engineer and permit – add calculations, structural stamps if required, and utility interconnection paperwork.
When to choose which – practical decision rules
- Simple, recent roof with good imagery and light shading – start with a remote survey, then a brief field verification later.
- Complex rooflines, heavy tree cover, or unclear roof condition – use a drone or onsite survey before firm pricing. If you’re unsure about roof fitness, review is your roof strong enough for solar.
- Older electrical service or suspected upgrades – prioritize an onsite electrical check early to avoid change orders.
- Tight timelines or high lead volume – use LiDAR-enabled remote surveys to generate day-one proposals, then scope verifications.
- Commercial roofs or ground mounts – combine remote modeling with targeted structural and geotechnical reviews.
How modern software supports your process
AI-powered tools can accelerate pre-assessment and proposal creation without replacing licensed professionals. With remote property analysis, you can validate roof geometry and available area, flag shading risks, and estimate production and savings in minutes. 3D visualizations help you set clear expectations with the customer, while guided education answers common questions and reduces back-and-forth. One-click quotes speed approvals. Use these outputs as decision support, then schedule focused onsite checks for roof health, structural confirmation, and the electrical panel to finalize engineering and permits.
FAQs
What is a solar site assessment?
A solar site assessment is a feasibility study that interprets survey data to decide if and how solar should be installed. It covers energy modeling, shading impacts, code and interconnection pathways, incentives and financials, and project risks. The result is a recommendation and scope that informs design, permitting, and a clear proposal for the customer.
What is the difference between a site plan and a site survey?
A site survey is the data collection activity at or about the property – measurements, photos, shading, electrical details. A site plan is a drawing that shows the proposed system on the property, including array layout, equipment locations, pathways, and setbacks. The survey feeds the site plan, which is then used for design reviews and permitting.
What does a solar site surveyor do?
A solar site surveyor captures accurate inputs for design. Tasks include measuring roof planes, documenting obstructions, recording tilt and azimuth, taking photos, checking roof and structural cues, and gathering electrical panel details such as service size, bus rating, and breaker capacity. They may work onsite, use drones, or analyze remote imagery and LiDAR.
How long does a solar site survey take?
Timing depends on method and complexity. Remote surveys can be completed the same day when quality imagery and LiDAR are available. Onsite surveys for a typical home often take 45 to 90 minutes, plus travel and report time. Complex roofs, limited access, or detailed electrical reviews can extend the process.
If you want to move faster without sacrificing accuracy, combine remote pre-assessment for speed with targeted onsite checks for certainty. That balance minimizes redesign risk while keeping your sales cycle lean.