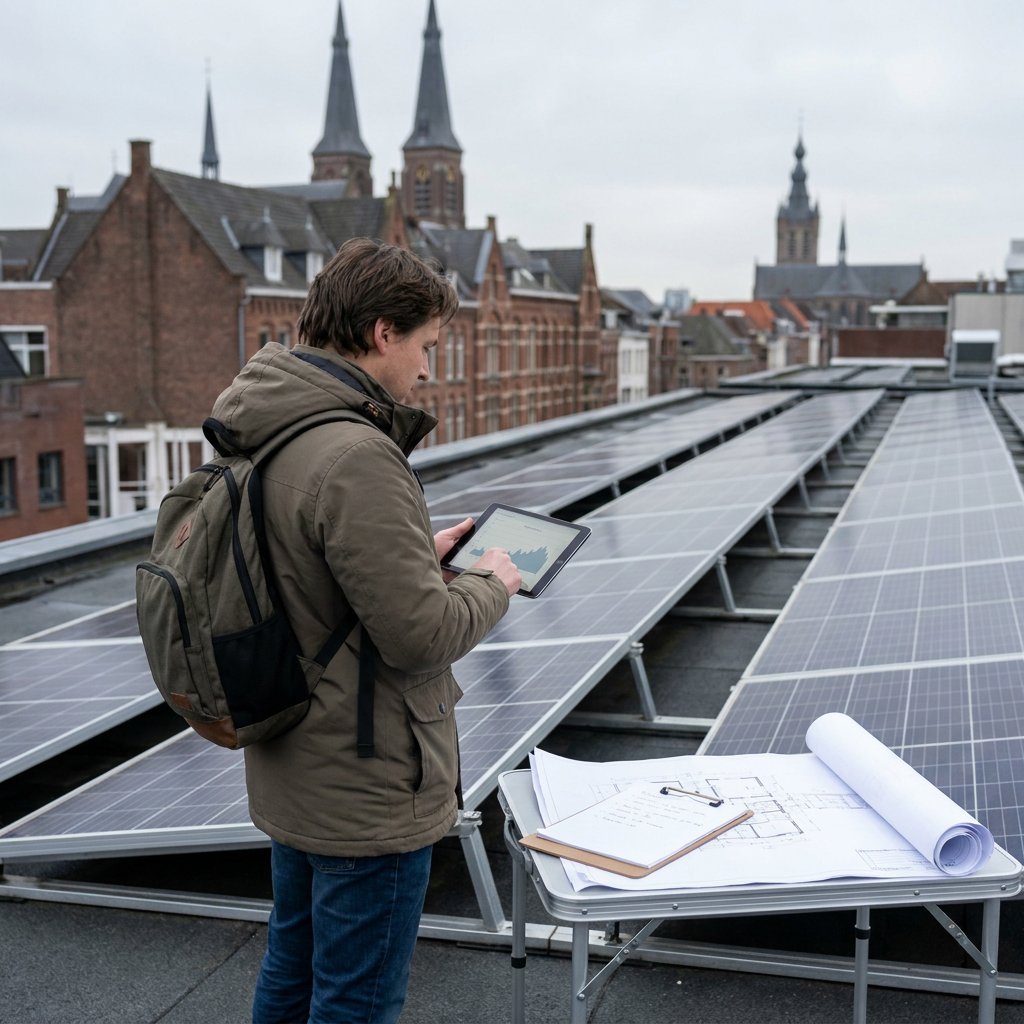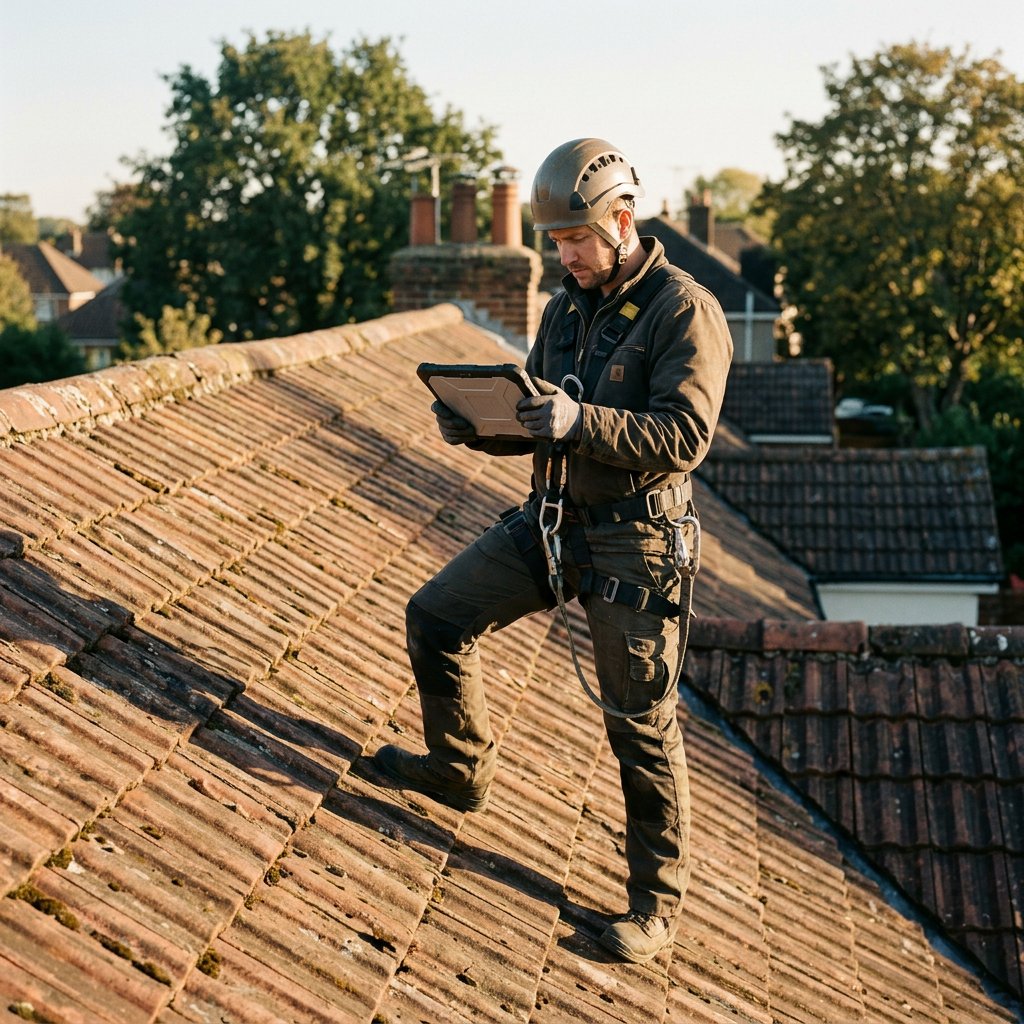
How to Choose a Solar Shade Analysis Tool
The best solar shade analysis tool depends on the job you need it to do. A fast lead-qualification check, an in-person site survey, and a detailed production model do not require the same level of capture, simulation, or reporting.
That is why it helps to compare tool categories by workflow fit, accuracy, and usable outputs instead of just collecting software names. A good setup should reduce guesswork and help your team make better decisions about layout, site viability, and proposal readiness without slowing down surveys or design review.
What accurate shade analysis depends on
In PV terms, shade analysis measures how trees, buildings, roof features, and sometimes terrain reduce solar access over the course of the day and across the year. That matters because even a strong roof plane can lose value quickly if key parts of the array sit in morning, afternoon, or winter shade.
A useful solar shading analysis result is more than a shadow picture. It should help your team decide where modules can go, how much obstruction is likely to affect production, and whether the project is worth pursuing at all. In other words, good solar shadow analysis should support action, not just visualization.
The trustworthiness of a PV shading analysis used in shading analysis for solar site inspections depends on the inputs behind it. The basics include correct site coordinates, roof orientation, azimuth and tilt, roof geometry, date and time, and a complete record of nearby obstructions such as trees, chimneys, parapets, vents, and neighboring structures. If the tool is estimating annual energy impact, it also needs credible irradiance or weather assumptions, not just a single sun-angle snapshot.
This is also why tool choice changes by project stage. A quick visual shadow check can be enough for early qualification or a first-pass site screen. A full annual simulation is different: it is designed to model recurring shade behavior, estimate loss over time, and support tighter design or production decisions. Both have value, but they solve different problems.
Compare the main tool types for solar shade work
Most teams do not need one tool for every shade-analysis task. They need the right category for the stage of work, the level of complexity, and the kind of output the next person on the project can actually use. If your process relies on remote solar site assessments, evaluate how each tool handles LIDAR and imagery-based workflows.
| Tool category | Best fit | Typical output | Main strengths | Where it starts to break down |
|---|---|---|---|---|
| Handheld field tools | Fast site assessment, rooftop solar-access checks, on-site obstruction capture | Field readings, sky images, solar-access values, basic export files | Quick in the field, low modeling overhead, useful during live surveys | Legacy hardware risk, limited workflow integration, weaker remote use, export friction |
| Mobile or browser-based sun-path tools | Remote pre-qualification, quick shadow review, early sales conversations | Screenshots, date-and-time shadow views, sun-path overlays | Fast, accessible, easy learning curve, good for simple screening | Coarse geometry, limited obstruction detail, weak annual loss modeling, lighter reporting |
| Browser-based 3D shadow tools | Detailed residential review, commercial rooftop evaluation, shared internal review | 3D obstruction models, animations, seasonal views, marked roof planes | Better visuals, stronger collaboration, moderate modeling depth, useful proposal graphics | Depends heavily on source data quality, can miss complex scenes, not always deep enough for advanced energy modeling |
| Full PV modeling software | Larger commercial rooftops, ground-mount projects, and more technical plant studies | Detailed 3D scenes, shading matrices, annual loss estimates, production-model outputs | Highest modeling depth, stronger annual analysis, better for complex layouts | Steeper learning curve, slower for early qualification, only as good as the site data entered |
Run a usable shade-analysis workflow without overcomplicating it
A workable process does not need to be elaborate, but it does need to be consistent. The goal is to collect enough information to make a sound decision and produce an output your solar sales, design, or operations team can reuse.
-
Start with the site basics that actually affect the model. Capture the correct coordinates, identify each roof plane, and record azimuth and tilt as accurately as your stage of work requires. Add clear photos and a simple record of trees, parapets, chimneys, vents, dormers, neighboring buildings, and any other object that can block sun access. This baseline matters more than fancy visuals.
-
Choose a capture method that matches the job. For a simple solar panel shading analysis during qualification, a sun-path or visual shadow tool may be enough. For sun and shadow analysis for site surveys, field measurements and better obstruction capture usually matter more. For higher-stakes design work, build a 3D scene the software can simulate rather than relying on a single image or one observer’s judgment.
-
Make sure seasonality is represented. Shade that looks minor on one date can become a real issue in winter mornings or late afternoons. If you are measuring in the field, do it in a way the tool can translate into annual solar access and TSRF. If you are modeling digitally, verify that the software is actually simulating behavior across the year rather than showing only selected dates and times.
-
Review the result for decisions, not just appearance. Look for obstruction windows, the periods with the highest losses, and whether the effect is isolated to a few modules or threatens the broader layout. Then decide whether array placement, mounting plan, module grouping, or setback choices need to change. A useful solar panel shadow analysis should lead directly to a design adjustment or a go/no-go call.
-
Finish with an output another team can use. That might be a field report, a marked roof image, a 3D screenshot, an animation, or an annual loss summary. The important part is that it is shareable and clear enough to support site surveys, sales engineering review, or customer-facing 3D solar simulations in proposals. If the shade result cannot travel downstream, the workflow is doing extra work without adding much operational value.
Avoid the setup errors that make shade results look better than they are
Shade tools can create false confidence when the setup is weak. The most common mistakes are not dramatic software failures. They are small input errors and workflow shortcuts that make the site look cleaner than reality.
-
Do not start with poor source data. Wrong coordinates, rough roof dimensions, missing dormers, or incomplete obstruction capture will distort the result before any analysis begins. If a tree line, parapet, or neighboring structure is only partially represented, the model will usually understate risk.
-
Watch orientation errors closely. Confusing magnetic north with true north, entering the wrong azimuth, or assigning unrealistic roof tilt can shift shadows enough to change a design decision. The same goes for optimistic row spacing or module placement assumptions on commercial and ground-mount work.
-
Be careful with attractive 3D visuals. A polished rendering can still be incomplete if the annual behavior has not been simulated properly. A single-date check might show a clean roof at noon while hiding repeated early or late shading losses that matter over the year.
-
Do not ignore production-model assumptions. If the tool is estimating impact, check what irradiance data, weather assumptions, and loss logic sit behind the output. A shadow image and an annual loss estimate are not the same thing, and teams sometimes treat them as if they carry equal confidence.
-
Make sure the output can move the project forward. A shade-analysis tool is only practical if the result can support inspection notes, design review, or proposal work. If the deliverable is hard to export, hard to explain, or too thin to justify a layout choice, the process may look efficient while still creating rework later.
Solar shade analysis tool FAQs
These are the questions that usually come up once teams start comparing workflow speed, model depth, and reporting needs.
Are free solar shading analysis tools good enough for site assessment?
Often, yes, for early-stage screening. Free solar shading analysis tools can be good enough for basic sun-path checks, quick rooftop conversations, and remote qualification when the goal is to spot obvious problems fast. They are useful when you need to decide whether a lead deserves a closer look, not when you need to defend a detailed design choice.
Where they usually fall short is dense obstruction modeling, stronger annual production assumptions, cleaner exports, and polished reporting. If the site has complex roof geometry, tall surrounding obstructions, or proposal stakes that require more confidence, free tools can become limiting quickly.
A practical approach is to use free tools for speed, then move to a more capable setup once project complexity, reporting needs, or design risk increases.
Is Solmetric SunEye still worth using for solar site work?
It can still be useful if your team wants quick on-site solar-access checks and direct obstruction capture during field visits. A legacy handheld device such as a Solmetric SunEye 110 or Solmetric SunEye 210 can still help on straightforward rooftop surveys where speed matters.
The tradeoff is workflow age. Hardware condition, support status, export convenience, and modern software integration can all become friction points. Before relying on suneye shade analysis in your process, verify the exact device generation, how data leaves the device, and whether the output still fits how your team works today.
What is a practical Solmetric SunEye alternative?
A good Solmetric SunEye alternative depends on what you are replacing. If you mainly used SunEye for simple field checks, a modern mobile or browser-based sun-path workflow may be enough. If you need faster remote review before dispatching a site visit, browser-based 3D shadow tools often create more value because they let teams screen sites and share visuals without a dedicated handheld device. If your real need is design-stage modeling, then a full PV platform is usually the better replacement category.
Focus your choice on the criteria that affect decisions in the field and in review: how the tool handles true north, whether it shows annual solar access rather than a one-time view, how well it captures obstructions, how clean the exports are, and how easy it is for a site assessor to use consistently.
That is why many teams get more benefit from a digital workflow than from trying to recreate the exact legacy device experience. If shade visuals need to support remote qualification, proposal review, or shared internal decisions, a modern tool with better exports and easier collaboration may outperform another single-purpose handheld, even if the field capture method feels less familiar at first.
Do you need Solmetric SunEye manuals or software downloads to use the tool today?
If you are searching for a Solmetric SunEye 210 manual, a Solmetric SunEye 210 software download, or older Solmetric SunEye software, first confirm the exact model generation, operating-system compatibility, export method, and current support path. That matters more than collecting legacy files.
Avoid unofficial downloads unless you can verify they are safe and appropriate. The real question is whether the device can still produce usable data inside your current workflow. If setup friction is high, that is a reasonable sign to move to a newer tool category instead of forcing a legacy environment to keep working.
Is PVSyst enough for shadow analysis on its own?
PVSyst shadow analysis is strong for complex scenes and annual loss modeling, especially on larger or more technical projects. It can be an excellent tool when you need deeper simulation rather than a quick site screen.
But it still depends on solid inputs. It does not replace proper field capture of obstructions, roof geometry, spacing assumptions, and coordinates. The most reliable approach is to pair detailed modeling software with good site-assessment data instead of treating the model as the first source of truth.