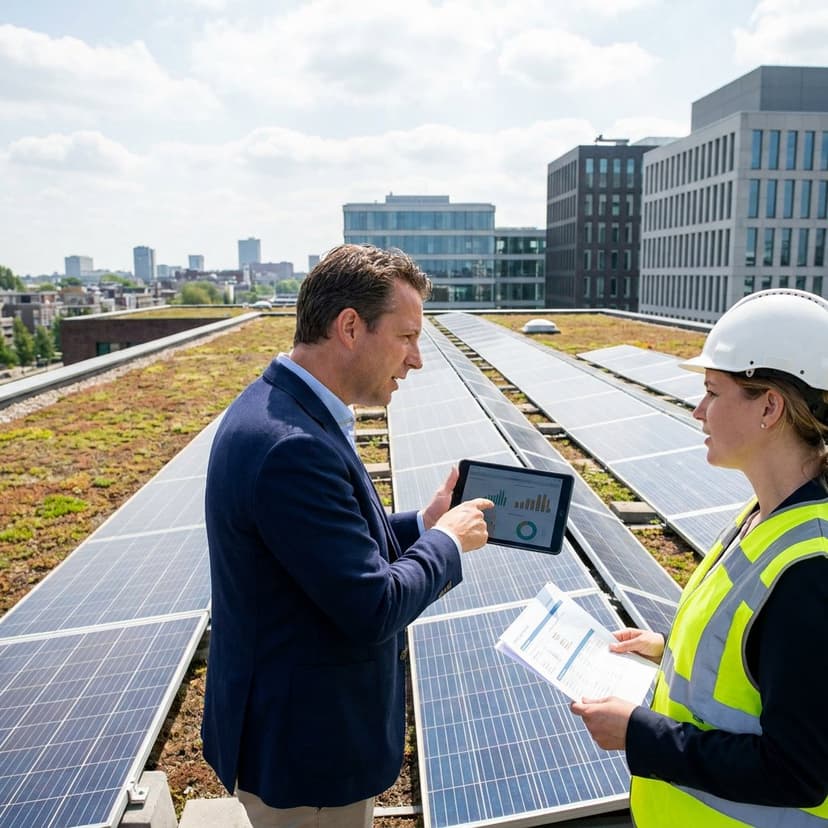
Winning solar projects starts with a tight, efficient survey process. The better you prepare, the fewer change orders, truck rolls and permitting delays you face. This guide walks you through solar site survey preparation from remote pre-qualification to on-site checks, data capture, safety, code compliance and the handoff to design. You will learn when to use remote surveys, which tools matter, how to document roof and electrical conditions, and how to convert survey data into an accurate, buildable PV system design and proposal.
The scope and goal of a solar site survey
A solar site survey validates whether a property can host a safe, code-compliant PV system that meets the owner’s energy goals. It combines three lenses: physical constraints (roof or ground space, shading, structure), electrical capacity and interconnection, and regulatory constraints (zoning, HOA, fire setbacks and utility rules). Done well, a survey yields the measurements, photos and notes needed to produce layouts, a single-line diagram, a production estimate and a permitting-ready package. For residential roofs, you will focus on azimuth, tilt, rafter spacing, roof age and condition, obstructions and safe access. For ground-mounts, you’ll assess topography, soil, drainage and trenching routes. The aim is simple: no surprises for engineering, the AHJ or the utility, and a proposal that installs as sold.
Pre-survey planning and remote pre-qualification
Good prep prevents bad truck rolls. Before you schedule a visit, pre-qualify the site with remote data and a short homeowner questionnaire. Pull satellite imagery and parcel data to gauge arrayable area, roof facets, tree cover and access. Collect 12 months of kWh usage to size offset and discuss future loads like EVs or heat pumps. Check HOA guidelines, zoning setbacks and the local fire code pathway rules. Confirm utility interconnection rules and whether net metering, rapid shutdown and meter upgrades apply. Line up PPE and tools, plus any ladder permits or site access instructions. If remote sensing reveals hard blockers – extreme shading, insufficient space, limited electrical capacity or restrictive HOA rules – you can right-size expectations or pivot before rolling a truck. For budgeting and to understand where preparation saves time and money, review the cost of a solar site visit.
Step-by-step solar site survey checklist
Use a consistent workflow so engineering and permitting receive complete, structured data every time. For a comprehensive walkthrough of pre-visit checklists, photo requirements and measurements, see our solar site inspections 101 guide.
- Homeowner goals and loads – Confirm offset target, future loads, roof replacement plans and preferred equipment locations.
- Exterior overview photos – Shoot all elevations, roof-to-street context, service drop, grounding and potential trench routes.
- Main service panel (MSP) – Document panel rating, busbar rating, main breaker size, available breaker spaces, labeling, conductor sizes and any signs of overheating.
- Subpanels and meter – Capture nameplates, breaker schedules and meter details for interconnection planning.
- Attic/structure – Verify rafter size and spacing, sheathing type, signs of leaks or deflection, and accessible path to roof penetrations.
- Roof condition – Note roofing material, age, visible damage, soft spots, skylights, vents, chimneys and satellite dishes.
- Measurements – Record arrayable areas by facet, roof pitch, azimuth and required setbacks for fire and edges.
- Shading – Identify trees, neighboring buildings and self-shading. Note seasonal tree growth and any future obstructions.
- Equipment locations – Mark inverter, combiner, AC/DC disconnects, battery and gateway locations with clearance and ventilation.
- Conduit runs – Plan clean, code-compliant routes with minimal bends, watertight penetrations and serviceability.
- Safety and access – Confirm ladder footing, tie-off points, fall protection, and roof access avoiding fragile areas.
- Regulatory notes – Capture HOA requirements, visible-from-street rules and any historic district constraints.
Quick roof measurement reference:
| Measurement | How to capture | Tool | Remote-ready? |
|---|---|---|---|
| Azimuth and tilt | Read compass at eave, measure pitch at ridge or from attic | Compass, inclinometer | Yes for estimate, verify on site |
| Rafter spacing | Measure center-to-center in attic or from exposed eaves | Tape measure | No |
| Array setbacks | Apply AHJ and fire code pathways on drawn roof facets | Code chart, roof sketch | Yes, confirm on site |
| Usable area | Subtract obstructions and required clearances | Sketch or app | Yes with lidar imagery |
To tie on-site orientation, shading and roof condition to accurate production modeling and yield estimates, read understanding solar panel efficiency.
Tools and technology for accurate surveys
Solar design software and 3D modeling
Modern solar design software accelerates surveys and increases accuracy. You can import high-resolution imagery, trace roof planes and obstructions, set azimuth and tilt, and apply local fire setbacks automatically. Built-in shade analysis estimates annual loss with horizon profiles or 3D context. The software then predicts production using weather files and loss factors, generates single-line diagrams, and exports permit-ready layouts. For teams, versioning and photo annotations keep data organized. When you integrate survey inputs with proposal tools, you go from site data to pricing, incentives and financing options in minutes. The result is fewer redesigns, tighter proposals and faster AHJ approvals.
Using drones for faster surveys
Drones capture roof geometry, condition and obstructions quickly and safely. Orthomosaic maps and 3D point clouds translate into precise ridge lines, plane areas and setback overlays. Thermal imagery can reveal wet insulation or hot spots. Drones reduce time on ladders and help you verify measurements on complex or steep roofs. Always follow local flight rules, maintain line-of-sight and respect privacy. For many homes, drone data plus software modeling can replace extensive manual measurements.
LiDAR, GIS and remote sensing
Public and commercial LiDAR datasets provide roof heights and 3D context for tree canopies, enabling more accurate remote shade modeling. GIS layers surface parcel boundaries, zoning and flood zones. Combined with satellite imagery, remote sensing can pre-qualify most sites, reserving on-site visits for structural verification and electrical inspections.
Electrical assessment, safety and permitting
Main service panel checklist
Interconnection hinges on the MSP. Capture clear photos of the panel exterior and interior, the main breaker nameplate, busbar rating, conductor sizes and grounding. Note open spaces, tandem restrictions and any signs of overheating or corrosion. Determine whether a supply-side tap, breaker backfeed or service upgrade is required to meet the 120 percent rule or utility-specific interconnection limits. Record working clearances and the distance to proposed inverter or AC disconnect locations.
Permitting, zoning and interconnection
Every AHJ and utility has nuances. Confirm roof fire setbacks, pathways and equipment clearances. Check zoning for ground-mount height limits, setbacks and fencing. Review historic district or HOA visibility rules. For the utility, verify metering requirements, disconnects, production meters, rapid shutdown compliance and required line diagrams. Collect and label documents early so your permit set includes site plan, roof plan, equipment datasheets, structural calcs if needed, and a code-compliant single-line diagram. Clearing these items in the survey phase prevents costly redesigns and resubmissions.
Safety essentials on site
Prioritize PPE, ladder safety and fall protection. Inspect ladder footing and tie-off, avoid skylights and fragile roofing, and maintain safe distances from service drops. De-energize where required, use lockout-tagout practices and comply with local OSHA and NEC guidance.
Post-survey analysis and client proposal
Translate survey data into a design and business case that installs as proposed. Build the array layout honoring setbacks and obstructions, select racking with structural attachment to rafters or engineered ground-mounts, and compute production with shading losses. Validate interconnection against the MSP findings and utility rules. Price equipment, labor and permitting, then present a proposal that includes offset, production estimate, incentives, timeline and next steps. Document assumptions and any contingencies so everyone aligns before contract.
Pro tips and common pitfalls to avoid
- Time-box remote pre-qual – decline early when space, shade or interconnection make the project unviable.
- Over-document – take more photos than you think you need, especially of labels, nameplates and obstructions.
- Think future loads – ask about EVs, HVAC changes and ADUs to avoid undersizing.
- Mind tree growth – model shade with 5 to 10 year growth assumptions where relevant.
- Avoid long exterior conduit runs – plan shortest, serviceable paths that preserve curb appeal.
- Flag roof age – if near end-of-life, plan reroof and coordinate attachments.
- Standardize forms – consistent checklists reduce rework and speed permitting.
FAQs
What is included in a solar site survey?
Measurements of roof or ground space, shading analysis, structural checks, photos of electrical equipment, interconnection notes, safety and access details, and regulatory requirements that impact design and permitting.
Do I need an on-site survey or can it be remote?
Remote surveys can pre-qualify most homes using imagery, LiDAR and design software. Plan an on-site visit for structural verification, electrical panel inspection and when imagery is outdated or obstructions are unclear.
How long does a solar site survey take?
Remote pre-qualification often takes 15 to 30 minutes. A focused on-site residential survey typically takes 45 to 90 minutes depending on roof complexity, access and electrical conditions.
When is a main panel upgrade required?
You may need an upgrade if busbar or main breaker ratings limit backfeed per the 120 percent rule, or when the utility mandates dedicated disconnects or meter changes your current panel cannot support.
Streamline survey preparation with Enervio
Enervio helps solar companies pre-qualify faster, reduce truck rolls and generate accurate proposals in minutes. Use AI-driven remote property data capture, personalized education agents and one-click offer generation to move from survey inputs to pricing and docs quickly. When you do visit on site, you arrive with a validated plan and a clear checklist, reducing time and rework. See how Enervio can compress your sales-to-install timeline.