Solar Panel Inspection
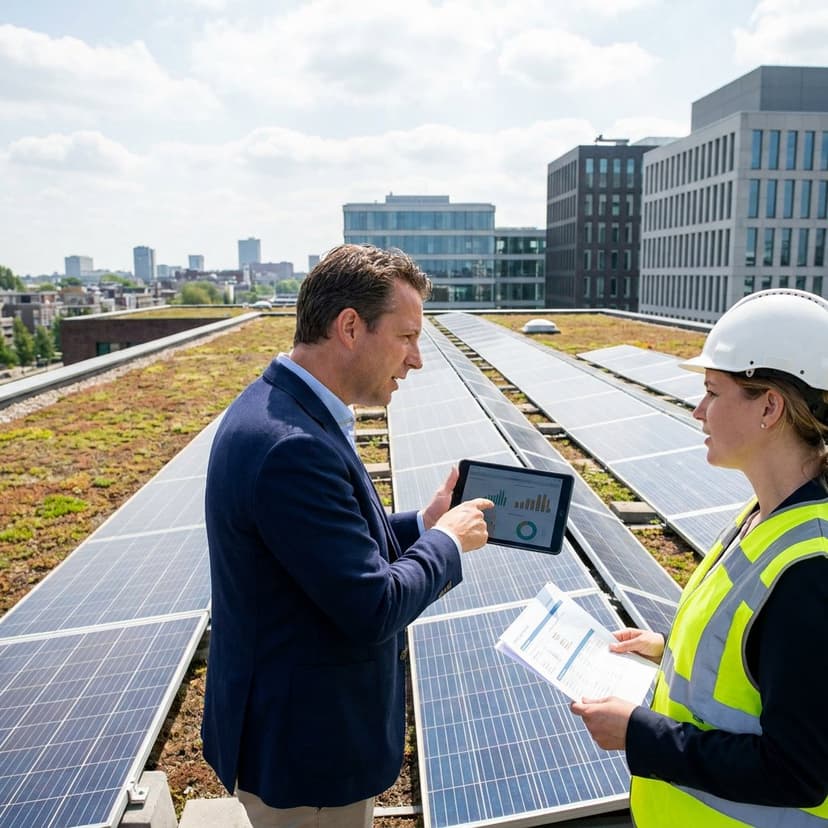
A solar panel inspection helps you verify whether a PV system is safe, compliant, and performing as expected. Whether you are checking a new install, troubleshooting underperformance, or preparing for handoff and approval, the inspection process is where design assumptions meet real-world conditions. For solar businesses, it is also one of the biggest points where delays, redesigns, and change orders can appear. That is why a strong inspection workflow starts before anyone steps on a roof. With the right mix of documentation, remote site assessment, imagery, and field verification, you can catch issues earlier and move projects forward with fewer surprises.
Why solar panel inspections matter
A solar system inspection is about more than a quick visual check. It confirms that the installed system matches the approved design, follows local code, and is ready for safe operation. In many cases, this applies to both the authority having jurisdiction and the utility, because approval to install is not always the same as approval to energize.
A failed solar installation inspection can lead to rework, delayed commissioning, extra truck rolls, and a slower path to permission to operate. Even small issues such as missing labels, incorrect breaker sizing, poor conduit routing, or blocked access pathways can stop a project from moving ahead. On existing systems, an inspection of solar panels can also reveal production loss, wiring defects, water ingress, mounting issues, or heat-related faults before they become expensive failures.
For installers and sales teams, inspections also affect margins. The more complete your site data is before installation, the lower the chance of permit revisions, equipment mismatches, or on-site surprises. That is where remote-first workflows can add real value by improving readiness before the final field check happens.
When you should schedule a solar panel inspection
The right inspection timing depends on the stage of the project and the reason for the check. A solar panel inspection is commonly needed after installation, during maintenance, before a property transfer, or when a system is not producing as expected.
- After installation – to confirm code compliance, approved layout alignment, and readiness for final approval
- Before permission to operate – when the AHJ or utility requires a final solar power inspection
- When production drops – to identify panel, inverter, wiring, shading, or thermal issues
- Before buying or selling a property – to understand the condition of the solar PV inspection target system
- After severe weather – to check for structural damage, loose hardware, broken modules, or electrical hazards
- As preventive maintenance – especially for commercial arrays and solar farm inspection programs
What is checked during a solar panel inspection?
The most valuable part of any solar panel inspection is the checklist behind it. While local rules differ, most inspections look at the same core categories: installation quality, electrical safety, structural integrity, code compliance, and system performance indicators.
System layout and installation accuracy
Inspectors typically compare the installed array against the approved plan set. They check whether module placement, setbacks, access pathways, inverter locations, disconnect placement, and other visible components match the permitted design. If the final build differs from the submitted documents, that can trigger corrections or resubmission.
Roof condition and mounting system
Mounting attachments, flashing, rail alignment, clamp placement, and general roof interface quality are important inspection points. The goal is to confirm that the array is secure, weather-protected, and appropriate for the roof type and structure. This is especially important when the system spans multiple roof planes or includes obstructions such as dormers, vents, or skylights.
Electrical components and safety items
This is often the most technical part of a solar installation inspection. Common checkpoints include conductor type and routing, grounding and bonding, breaker sizing, disconnects, overcurrent protection, labeling, junction boxes, rapid shutdown equipment, and clear working space around service equipment. If a jurisdiction requires a licensed electrician to be present, that should be arranged in advance.
Fire access and code requirements
Many jurisdictions check roof access paths, setbacks, and spacing rules to support firefighter access and maintenance safety. Local code may also affect conduit runs, equipment height, labeling standards, and attachment methods. These details often cause avoidable failures when they are not reviewed early enough.
Performance and condition indicators
Not every inspection is a full diagnostic visit, but many inspection of solar panels workflows include signs of underperformance such as cracked modules, discoloration, hotspot patterns, damaged connectors, corrosion, or inverter error states. On operating systems, production history and monitoring data can support the visual and electrical review.
How to inspect solar panels step by step
If you are asking, “How do you inspect solar panels?”, the answer depends on whether you are handling a final approval, a maintenance issue, or a condition assessment. In practice, the process usually follows a clear sequence. For a more detailed look, see this step-by-step solar inspection process.
- Review the design package – compare the as-built system against plans, equipment schedules, and permit documents.
- Check site conditions – verify roof geometry, obstructions, shading, access points, and equipment locations.
- Inspect visible hardware – look for module damage, mounting issues, loose components, and wear.
- Verify electrical installation – inspect conductors, disconnects, labels, breakers, grounding, and inverter connections.
- Confirm code and utility readiness – ensure the system meets local inspection and interconnection expectations.
- Document findings – capture photos, notes, exceptions, and corrective actions.
- Resolve issues before final sign-off – fix deficiencies and recheck any flagged items.
For many solar businesses, the most efficient version of this process starts with remote data collection first. If roof size, roof type, structural clues, shading, meter location, and building details are gathered before the visit, field teams can focus on verification instead of discovery. For placement within the broader project flow, see the correct order of installation and inspections.
Solar inspection after installation
A solar inspection after installation is one of the most common search intents around this topic, and for good reason. Once the system is mounted and wired, there is a final checkpoint before it can move into full operation. This stage confirms that the installed work matches the approved scope and that no code, safety, or utility issue will delay activation.
At this stage, common failure points include missing placards, incorrect wire management, insufficient roof setbacks, inaccessible disconnects, mismatched equipment, and deviations from the permitted layout. These are often small on paper but expensive in project flow because they can delay both inspection approval and utility sign-off.
For installers, a pre-inspection quality check can reduce failed visits. For sales and operations teams, better site data earlier in the workflow can reduce the number of surprises that only appear after crews arrive. Remote assessment tools, 3D property visualization, and digital site information collection can help identify likely red flags before the final inspection window.
Solar panel inspection cost
Solar panel inspection cost varies based on system size, system type, roof complexity, location, and the purpose of the inspection. A basic residential condition check is very different from a commercial solar farm inspection or an infrared diagnostic review.
Typical pricing factors include:
- System size – more modules and equipment generally mean more time on site
- Inspection type – visual, electrical, thermal, drone, and compliance inspections have different scopes
- Roof access difficulty – steep roofs, height, and limited access can increase labor
- Reporting requirements – photo documentation, issue mapping, and formal reports add time
- Travel – often relevant when searching for solar panel inspection near me or regional field services
- Asset type – residential, commercial, and utility-scale arrays require different workflows
If your goal is cost control, the biggest savings often come from reducing unnecessary field visits. Pre-qualifying the site remotely, validating property characteristics in advance, and equipping teams with better project data can lower repeat visits and shorten the inspection cycle.
Drone solar panel inspection and aerial workflows
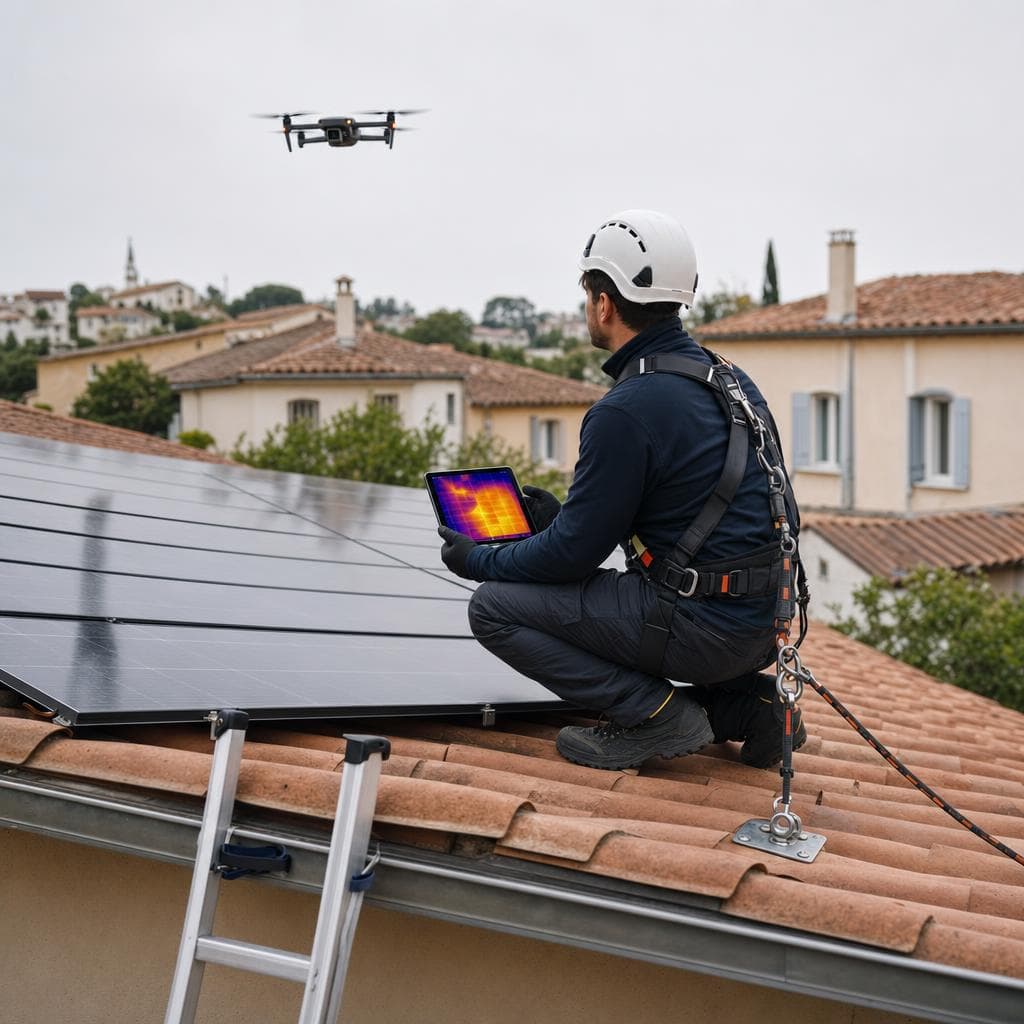
Drone solar panel inspection has become increasingly useful for commercial rooftops, large arrays, and solar farm inspection projects. A drone can capture high-resolution imagery quickly, improve safety by reducing manual roof access, and help identify installation or condition issues across a wide area. That is why terms like solar drone inspection, aerial solar panel inspection, drone inspection of solar panels, and drone solar farm inspection continue to grow in relevance.
A drone inspection is especially useful when the site is large, difficult to access, or spread across multiple structures. It can support documentation of panel placement, roof obstructions, visible damage, debris, vegetation issues, and some thermal anomalies when appropriate sensors are used.
Still, a drone solar inspection is not always a full replacement for close electrical verification. It works best as part of a layered workflow that combines remote imagery, site data, and targeted in-person checks where needed. For solar companies, that means using aerial and remote methods to narrow down what truly requires field attention instead of treating every project like a full manual survey from the start.
Infrared solar panel inspection and thermal checks
Infrared solar panel inspection is used to identify abnormal heat patterns that may indicate hidden performance problems. You may also see this called solar panel thermal inspection. It can reveal hotspots, defective cells, connection issues, string problems, or module-level faults that are not obvious in a standard visual review.
Thermal inspection is particularly valuable when a system appears to be underperforming but the root cause is unclear. It is also useful for large commercial or utility assets where manual panel-by-panel review is inefficient. In those cases, infrared data helps prioritize maintenance by showing exactly where temperature anomalies appear.
Because thermal readings depend on weather, irradiance, and operating conditions, these inspections need the right context to be meaningful. They should be interpreted alongside production data, system design information, and visible condition findings rather than in isolation.
Remote-first preparation for faster solar inspection workflows
Not every solar panel inspection starts with a truck roll. For many solar businesses, the smarter approach is to collect as much reliable site information as possible before the field stage. That includes roof dimensions, roof type, obstructions, building details, shading clues, equipment locations, and visual documentation that supports design and installation planning.
This is where a remote-first workflow can improve the inspection process without pretending to replace every physical check. By gathering property characteristics digitally, using 3D building visualization, and aligning sales, design, and operations around the same site data, teams can reduce permit issues, redesigns, and failed final inspections. Instead of discovering conflicts late, you catch them earlier when changes are cheaper and easier to manage.
Enervio fits into this part of the workflow as an AI-driven platform for remote site assessment, solar simulation, property data collection, and offer creation. It is not a company that performs on-site inspections itself. Its role is helping solar businesses prepare better before installation and before inspection so projects move forward with fewer surprises.
Common reasons a solar panel inspection fails
Inspection failures are often preventable. In many cases, the issue is not a major design flaw but a mismatch between plans, installation details, and local requirements.
- Missing or incorrect labels
- Improper conductor routing or support
- Incorrect breaker size or electrical configuration
- Insufficient roof setbacks or blocked access pathways
- Equipment installed differently from the approved plan set
- Loose or poorly installed mounting hardware
- Incomplete grounding or bonding
- Inverter or disconnect placement issues
The practical lesson is simple: field issues usually begin as upstream data issues. Better documentation, better site understanding, and better coordination between sales, design, and installation reduce the risk of failure at the final check.
Solar panel inspection checklist
Use this solar inspection checklist as a practical starting point for a residential or commercial solar panel inspection:
- Plans and permits – approved plan set available and matched to the installed system
- Array layout – module count, placement, orientation, and setbacks verified
- Roof interface – attachments, flashing, waterproofing, and mounting condition checked
- Visible module condition – cracks, delamination, discoloration, or damage identified
- Wiring and conduit – secure routing, correct materials, and protected runs confirmed
- Grounding and bonding – properly installed and code-compliant
- Disconnects and labels – present, accessible, and correctly applied
- Inverter and BOS equipment – mounted correctly and free from obvious defects
- Access and safety – roof pathways, working clearances, and service access available
- Performance indicators – monitoring data, fault codes, and thermal issues reviewed when relevant
FAQ
Do solar panels need to be checked?
Yes. Solar panels and the full PV system should be checked after installation, when performance drops, after major weather events, and during preventive maintenance cycles. Even if modules look fine from the ground, issues with wiring, mounting, labels, or heat buildup may still exist.
How do you inspect solar panels?
You inspect solar panels by reviewing the design and permit documents, checking the physical installation, verifying electrical safety items, confirming code compliance, and documenting any damage or defects. Depending on the case, this may also include drone imagery, thermal analysis, and performance data review.
What is the 120 rule for solar panels?
The 120% rule is a common electrical sizing concept used in some panelboard configurations. In simple terms, it limits how much combined current from the main breaker and backfed solar breaker can be placed on a busbar. Because application depends on equipment and code context, it should always be reviewed by a qualified professional during system design and inspection.
Can you put solar panels on a dormer?
Sometimes, but it depends on roof geometry, shading, structural considerations, access requirements, and local code. A dormer can create layout and setback challenges, which is why accurate roof mapping and remote site assessment are useful early in the process.
Is a drone solar panel inspection enough on its own?
Not always. A drone can capture excellent imagery and help identify visible defects or layout issues, but electrical verification and some compliance checks still require closer review. Drone inspection is best used as part of a broader workflow.
What is the difference between a solar panel inspection and a solar site survey?
A solar site survey usually happens earlier and focuses on gathering property and system planning data such as roof dimensions, shading, obstructions, and electrical service details. A solar panel inspection is typically more focused on verifying installation quality, safety, compliance, or operating condition. In practice, better surveys lead to smoother inspections.
How can solar companies reduce inspection delays?
The most effective way is to improve upstream accuracy. Remote property data collection, clearer site documentation, 3D visualization, better plan alignment, and stronger handoff between sales, design, and installation teams can reduce failed inspections and repeat visits. It also helps to understand who conducts solar inspections. Be clear on AHJ requirements for solar site inspections. Set expectations with the permitting and inspection timeline.